So, you have a printing project in mind and are wondering where to start and how it all works?
The purpose of this article is to give you an overview of how to begin and what to expect along the way in terms of how things work and how long different steps typically take.
This will be the first article in a series that will detail different steps in our process, the products we can produce, and how to achieve the best results.
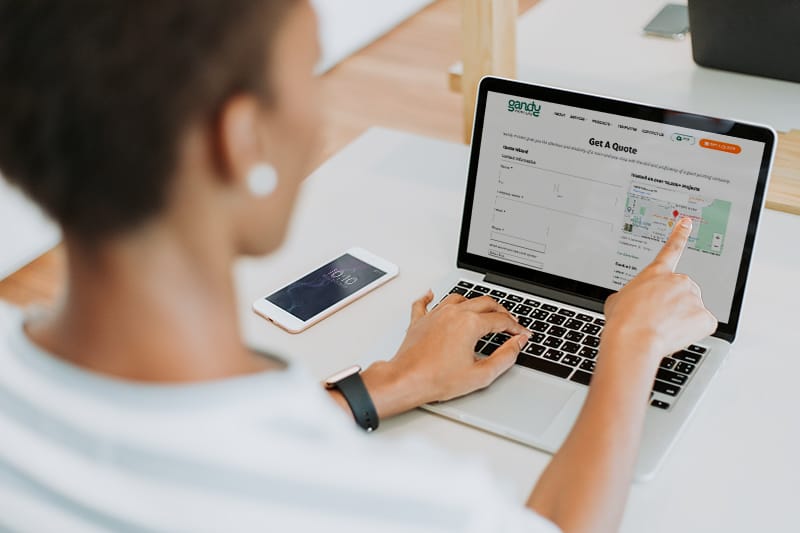
Step 1: Getting a Price Quote
If you’ve never worked with print before, the first thing we recommend you do is to contact us for a price quote before you get too deep in designing your project.
The last thing you want to do is spend hours creating artwork for a project that you then find is outside of the budget to produce.
If you work in print regularly and have a general idea of pricing, then you may not need to do this before designing.
Whichever the case may be, a price quote before printing is always a good idea so that there are no surprises once it’s time to pay for your job.
We will go into more depth on the details of getting estimates in a future article, but for now, give us a call or shoot us an email, and we will be happy to work up an estimate for you.
- Call: 850-222-5847
- Request a quote online
- Email: [email protected]
Most price quotes are completed within 24 hours, but if your project is complex, it could take up to two or three business days to complete your estimate.
Step 2: Creating Artwork
The quality of the artwork that you produce is going to directly affect the quality of your final printed piece.
As the old saying goes, “Garbage in, garbage out.”
When creating your artwork, there are many factors to consider, including the type of product you are looking for, the type of software to use, and how the product will be produced.
We cover many of these topics in other articles but feel free to give us a call, and we will be happy to answer any questions you may have about how to best create your artwork to achieve maximum results.
We have a templates section to provide you with the correct design formatting for your print work.
Step 3: Placing Your Order
To place your order, you can simply email your customer service representative.
Reference your estimate number, along with confirmation of any options you may have had on the estimate, such as different quantities for which you may have received pricing.
If possible, you can attach the art file to the email. Most files under 20 megabytes will go through email, but if your file is too large, you can use our FTP transfer link.
Please note that we will always send you a reply email to confirm that we have your order and to clarify any questions if need be before we start your order.
In the unlikely event that you do not hear from us within 24 hours of submitting your order, there may have been an issue with the email, so please call us if this is the case.
Step 4: Payment
If you or your company has a billing account set up with us, then payment will be according to the terms of the account.
If you do not have a billing account with us, then payment will be required when submitting the order.
You can discuss your different payment options with your CSR when placing your order.
Step 5: Proofing
Once you have submitted your order, our prepress team will get to work reviewing your artwork and creating proofs.

The type of proof you receive depends partially on the product you are ordering and partially on the type of proof you requested when getting your price quote.
Our default proofing method is emailed digital proofs, but hard copy proofs can be included at an additional cost.
Proofs are produced within 24 hours of us receiving your print-ready artwork, though most email proofs are sent within a few hours of ordering.
Once you receive your proof from one of our prepress operators, check it over closely to make sure everything matches the print-ready file you submitted.
Remember, this isn’t the time to check for typos or other design errors, as those should have already been resolved before the print-ready art was submitted with the order.
If you do happen to find these types of errors, we can accept revised artwork, but additional production time and charges may be incurred.
Once you have reviewed your proof and made sure all is well, please respond to us with an “OK to Print.”
Responses like “looks good” or “looks ok to me” may require further clarification from our prepress operators.
Once you have approved your proof, your job moves to production!
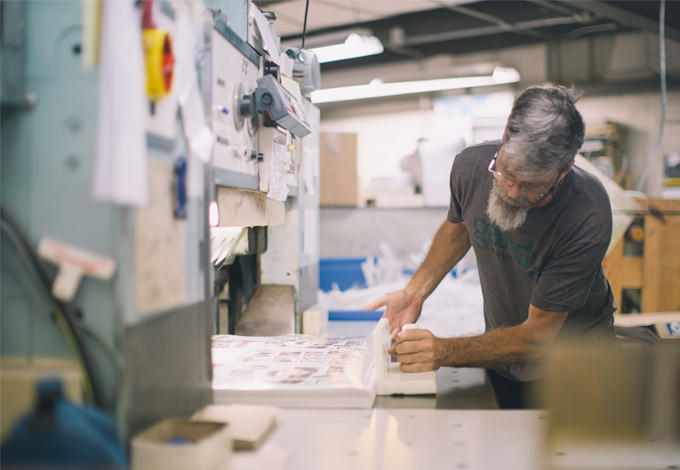
Step 6: Printing
Your job will be printed using one of a few different methods, which is dictated by the type of product you are ordering and the quantity.
These methods include digital Printing, offset printing, and inkjet printing.
On average, most digitally or inkjet-printed items are printed within two or three business days, and most offset-printed products are printed within three to five business days.
Print times may run longer than average on very large jobs, or at times when our production schedule is heavier than normal.
Step 7: Bindery and Finishing
Once your job is printed, it will move on to our bindery, where operations like cutting, folding, binding, etc., are performed.
These operations normally represent the last of the work we need to do to your job to complete it.
Bindery operations normally take 1 to 3 days to complete and sometimes are all performed on the same day printing is completed.
Step 8: Pickup/Delivery
Once your job is completed, we will either call you for pick up or deliver it according to the arrangements that were made when we quoted your job.
We deliver within the Tallahassee area and can arrange delivery via UPS, FedEx, or truck lines for destinations outside our normal delivery area.
Well, that is a general run-through of how our process works. Stay tuned for future articles!